Behind the seams
How this world was made
I thought of Plutazom as a place to visit, not as a portfolio. This page is how it was put together: the idea, the look, the pictures, the 3D models, the game and the team of AI agents that built it with me. It takes about two minutes.
Step 1
The idea
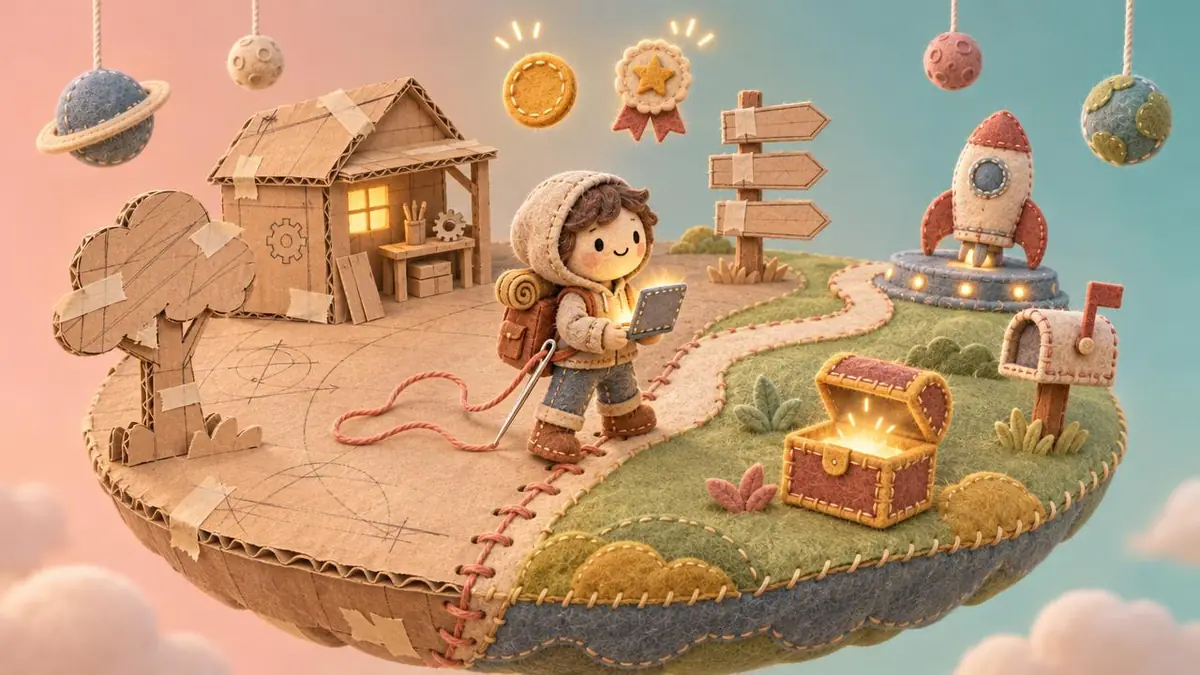
Instead of a classic portfolio I wanted a small world you can walk through: an island with six zones that you cross on foot in under ten seconds. Each zone holds one part of the site: about me, projects, favourites, the treasure chest, contact and what I'm up to now.
The heart of it is "prototype to product". The island starts out mostly as a cardboard prototype. Every zone you discover gets stitched into felt, and once all six are done the island is finished and the rocket takes off.
In numbers
- zones
- 6
- materials: cardboard and felt
- 2
Step 2
Choosing the look
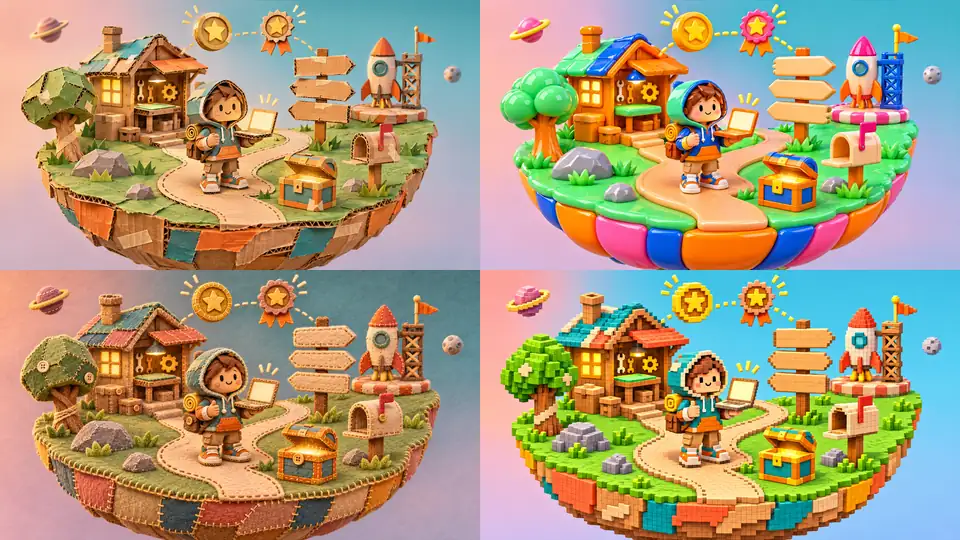
First I had the same scene drawn in four materials: cardboard, glossy vinyl toy, felt and voxel. Camera, objects and layout stayed the same. Only the material changed.
The plan recommended vinyl because it is the lightest on phones. I picked felt anyway. Then I tried two drafts that mix felt with cardboard. Those two pictures were the first paid step of the whole project.
In numbers
- style candidates
- 4
- hybrid drafts
- 2
- for both of them
- 0.056 USD
Step 3
The pictures
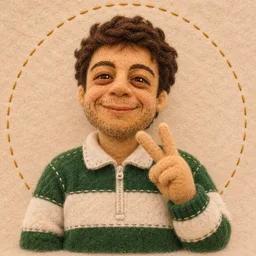
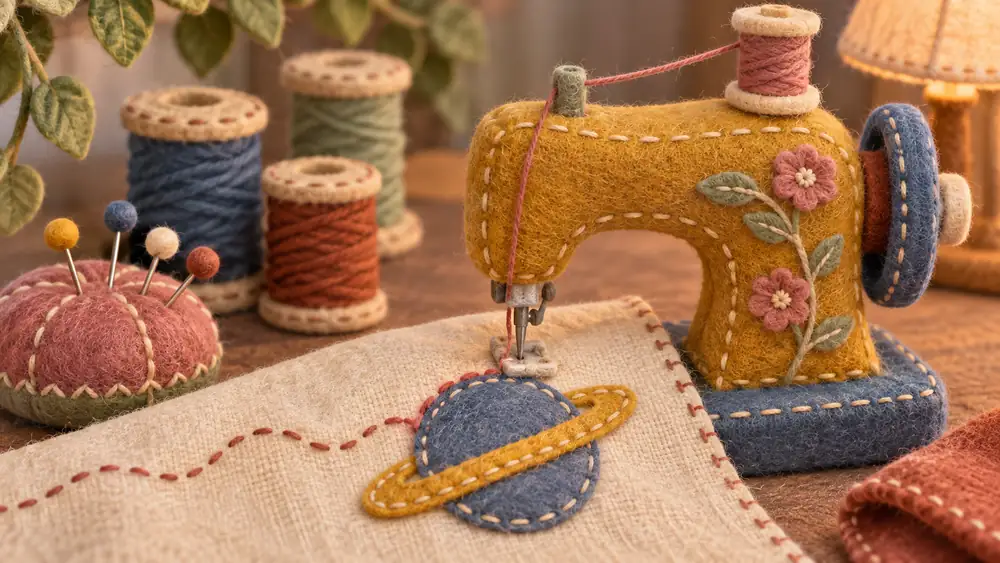
I made the felt pictures with Codex. Every prompt opens with the same fixed style sentence, so the design drafts, my avatar and the project covers look like they came out of one set.
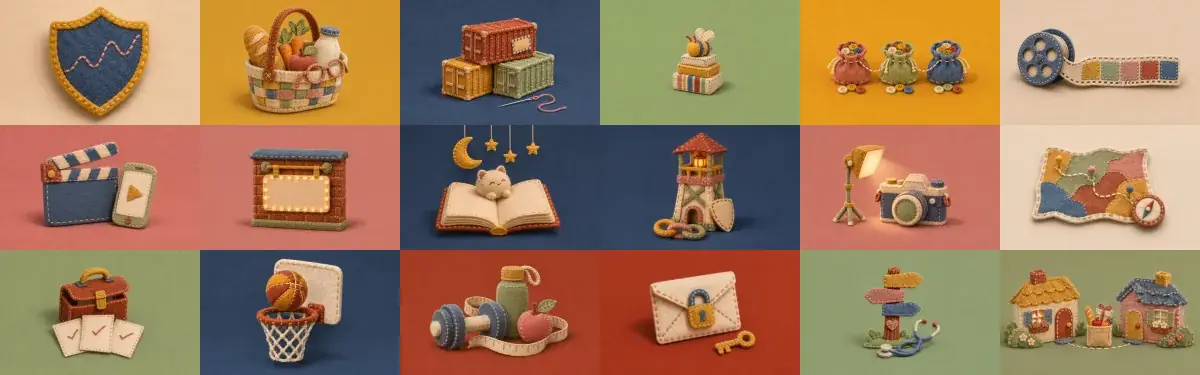
My felt avatar was drawn from a photo of me as a little wool doll. The photo itself is not on the site. Each of the 16 projects has a felt cover too, and all of them were made for free.
Shared style: handmade felt and fabric craft, fuzzy felt fibres, visible hand stitching, soft muted warm palette (mustard #C9A23A, sage #9DB08A, dusty rose #C98C84, rust #A84A34, denim #46658F, oatmeal #EDE4D6), soft warm studio light, like a stop-motion felt set.
Source: design/felt/prompt.txt
In numbers
- felt project covers
- 18
- spent on covers
- 0 USD
Step 4
From picture to 3D
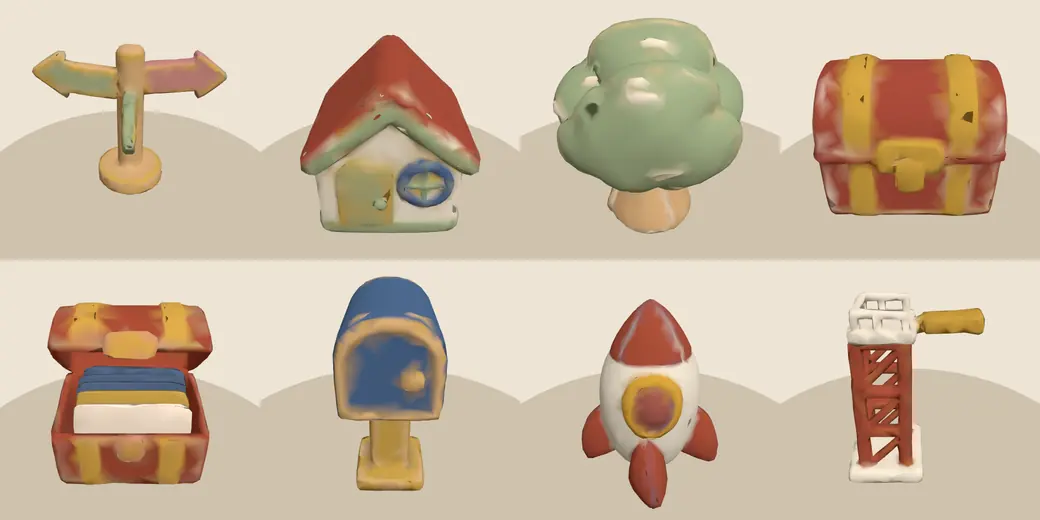
Every object on the island started as a single picture. An image-to-3D model called trellis-2 then turned it into a mesh. We threw away the AI texture, simplified the shape, baked the colours straight into the vertices and compressed the file. Each object is one piece, with no textures, and light.
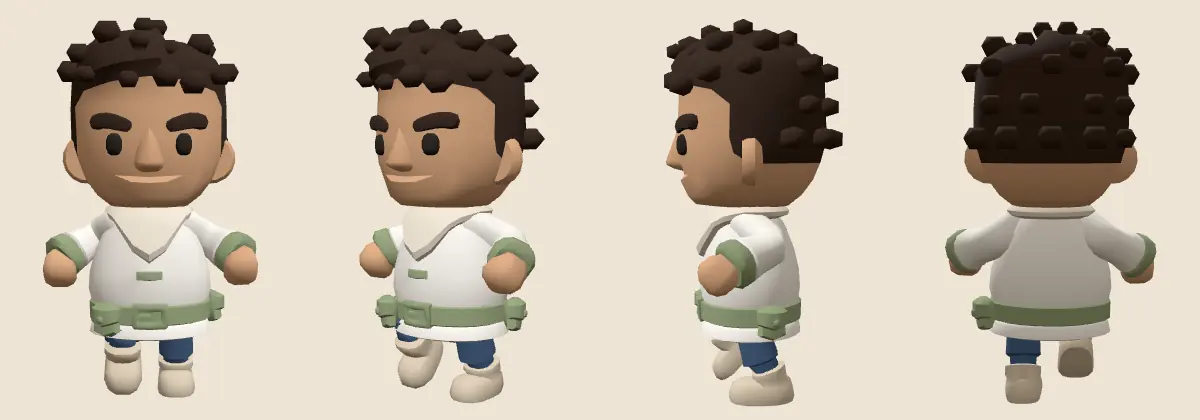
24 of the 25 objects came this way. The yarn ball's mesh had holes in it, so we draw that one in code. My character was not made by AI at all: we took a rigged CC0 character from KayKit and recoloured it to match my avatar, with curly dark hair, a sage and white striped sweater, jeans and oatmeal shoes.
In numbers
- felt objects
- 25
- for all of them
- 689 KB
- 25 pictures and 25 models
- 8.13 USD
- the rigged character
- 185 KB
Every paid run was written into a budget file before it ran. The cap was 40 dollars.
Step 5
The game layer
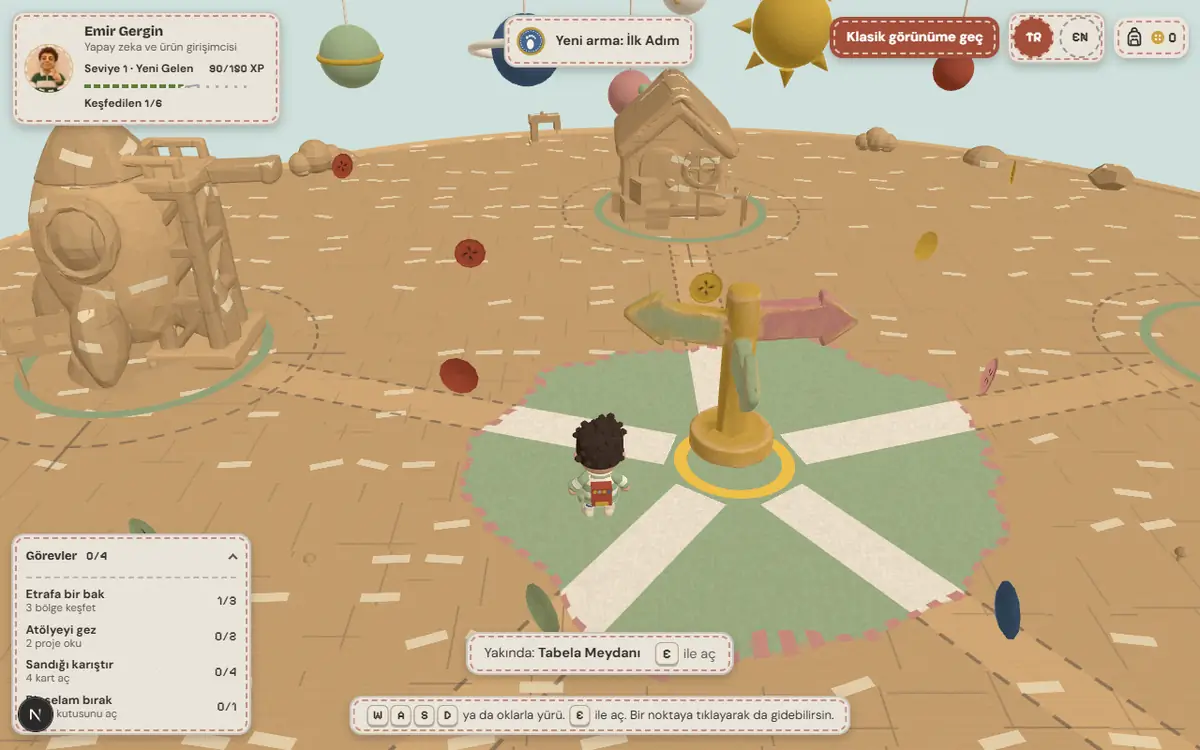
I wanted exploring to feel rewarding without locking any content away. Your XP is a thread that gets stitched along. Badges are embroidered patches sewn onto a backpack. There are sewing buttons to collect around the island, and the chest deals cards in five rarities.
The character and the props move at 12 poses a second, like stop-motion, while the camera stays smooth. No streaks, no timers, no leaderboards, no notifications. Every word is readable in the classic view too.
In numbers
- chest cards
- 42
- embroidered patches
- 11
- sewing buttons
- 20
- poses a second
- 12
Step 6
On phones
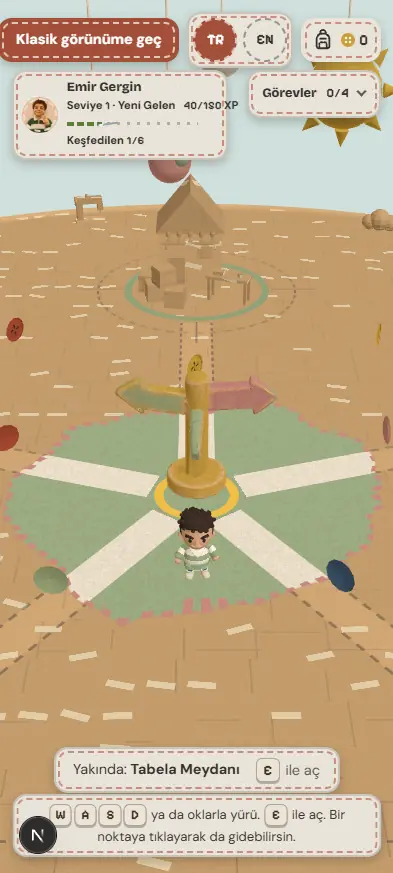
On a phone the home page is a stitched map. You scroll down through the six stops, and apart from the buttons the whole game plays there too. The map has no three.js. The 3D world is one tap away.
Without WebGL, or with reduced motion or Save-Data on, the classic view stays in charge, and it works without JavaScript as well. Instead of adding a physics package we wrote our own small physics step, because the ready-made one would have added hundreds of kilobytes to the first load.
In numbers
- of JavaScript on the map (gzip)
- 225 KB
- the physics package we skipped
- 862 KB
- our own physics code
- 2.7 KB
Step 7
The AI team
I did not write the code line by line. A lead model (Fable 5.2) planned each phase and split the work between parallel workers (Opus 5.5). Each worker touched only its own files, so five or six jobs could move at the same time.
Every phase closed with tests: unit tests, browser tests on desktop and two phone sizes, an accessibility scan and Lighthouse. My job was to set the direction, make the calls and check the result.
In numbers
- unit tests
- 243
- browser tests passed
- 388
- static pages
- 59
- axe accessibility violations
- 0
Numbers from the end of phase 5, the launch phase.

Your turn
The island is waiting. Stitching a cardboard zone into felt is one step away. Or have a look at the projects first.